Autumn Gear Guide
Find inspiration in our Gear Guide that will keep you out on your bike through wind or rain.
Download Now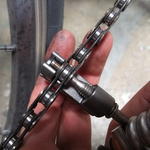
The best approach to fixing a broken bike chain.
By Dan Goldwater
Expert Do-It-Yourselfer and Instructables.com co-founder Dan Goldwater has the hands-on solution for just about any bike project you can dream up. In this issue, he gets back to basics with the best approach to fixing a broken bike chain.
How does a chain work?
Each link of a chain is held together by a steel pin/ peg. With the chain tool (or a hammer and pliers) you can push out and push in the pins, allowing you to remove or attach links. Fixing a broken chain amounts to removing the broken link and re-attaching the remaining loose ends. On bikes with derailleurs, there are enough extra links that it’s no problem to remove a couple. On a single-speed bike, you probably won’t have enough slack in the chain to remove a link, you’ll need to borrow some
links from an old chain or else buy a new one.
How do chains break?
The most common way is by pedaling full force at the same moment that you are shifting your front derailleur. Other breaks I’ve seen were caused by an assortment of seemingly one-in-a-million occurrences, yet I’ve seen enough of those cases that I guess, if you ride long enough, one-in-a-million happens. Things like a nail getting thrown up by my front wheel and lodging in the chain, then getting cranked across the sprocket. Who’d a thunk?
—
Unless you do a lot of mountain biking, it isn’t often that you’ll need to repair or change your bike chain. However, chains do break now and then, and being able to fix one on the street is no harder than fixing a flat tire if you are prepared.
To fix a broken chain, all you need is a chain tool. These are compact and built into many common multi-tools, such as the one shown (Slideshow image a). You may even already have one on your multi-tool – now you know what it’s for! At home in your garage, it’s possible to repair a chain with just a hammer and pliers, but a chain tool is easier, and really the only option on the street.
If you are on the street and your chain breaks:
1. Are you wearing nice clothes that you care about? Probably best to lock your bike and take the bus. Come back later with your old jeans and fix it then. Fixing a chain is the dirtiest job there is on a bike.
2. Okay, you’re back and ready to go. Flip your bike over so you can get at the chain more easily.
3. Take a look at the two broken ends. You’ll need to remove two segments of the chain because the two types of segment alternate. If you just remove one segment, you can’t reattach it. Place the chain into the groove in the chain tool (Slideshow image b) at the spot you want to disconnect. If you are replacing a worn but non-broken chain, you’ll do the same thing here.
4. Turn the screw on the chain tool to start pushing the pin out of the chain (Slideshow image c). Be careful to keep the pin on the chain tool lined up with the pin on the chain; they sometimes like to slip around a bit.
5. Don’t push the pin all the way out! Only push it just far enough so that the chain comes apart (Slideshow image d). You need to leave the last bit of the pin in the chain so you can push it back in later.
6. Okay, now feed the chain back onto your sprockets. It helps a lot if you have a friend who can hold the two ends in position while you reattach them.
7. Now use the chain tool to push the pin back in (Slideshow image e). The trickiest part is to keep the tool lined up with the pin. Note: if you are putting on a new chain here, many new chains come with a special link that makes the first-time installation possible without pushing any pins in.
8. Once the pin is in, the link you just attached will be stiff. Work it back and forth (Slideshow image f), until it loosens enough to bend.
9. Take a look at your hands and feel proud. You have done something real today.
If you were putting on a new chain in the comfort of your home, you’ve now got an old worn out chain to upcycle! Since you know how to remove links and reattach the segments, you can use part of the old chain as a cable to lock your seat onto your bike (Slideshow image g). This is very handy in urban areas. You can also make yourself a bike chain bracelet (Slideshow image h)or an earring. You’ll need a fairly big piercing and a tough ear to get that stud through.
To get in touch with the DIY man himself, contact:
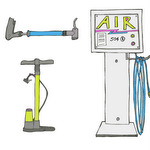 How to Pump Up Your Tires
 How to True a Bent Wheel
 Scraper Bikes – Made in Oakland
 How To Install Fenders
 Of course David Byrne rode his bicycle to the Met Gala
 What is going on in Toronto between police and cyclists?
 The Beauty of Upright Bikes: Sit Up and Enjoy the Ride with these Perfect Commuters
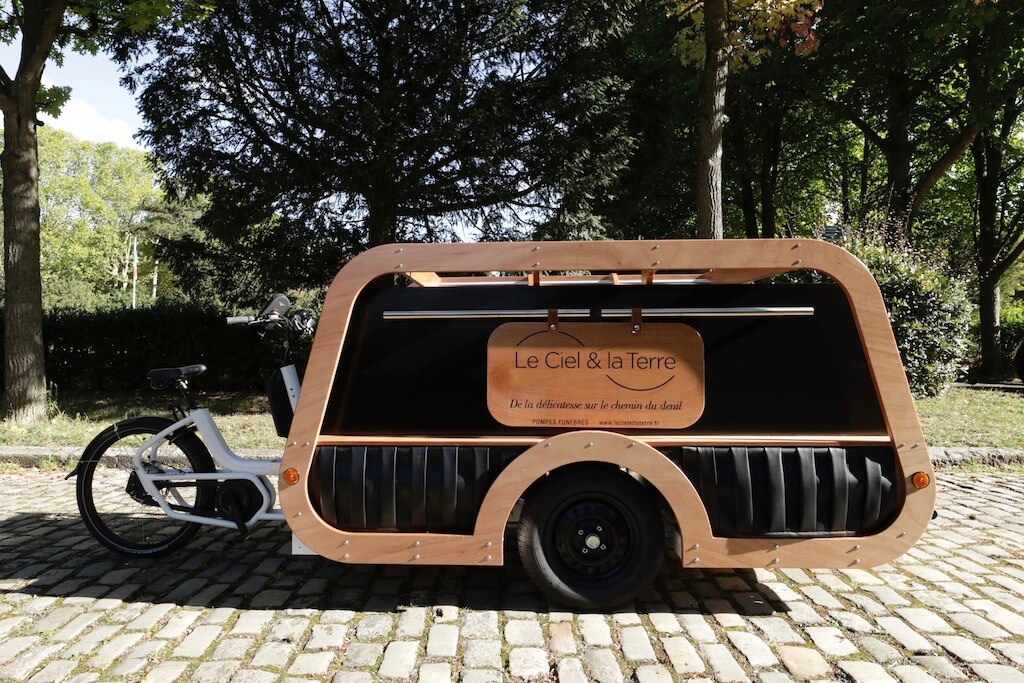
 Here are five box bikes that could replace a car right now
Find inspiration in our Gear Guide that will keep you out on your bike through wind or rain.
Download Now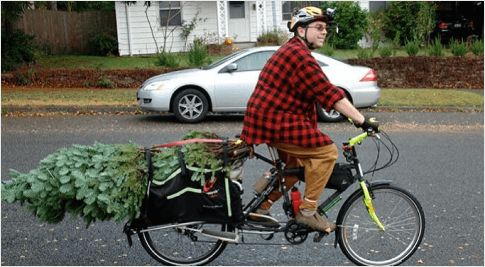


Thank you so much for this article–so many helpful tips here. But, I just saw this post (“Over 200 Bike Repair Videos and Hundreds of Pages of Illustrated Guides”) and actually was reading about this same topic the other day. I did some searching around and stumbled onto this cool article… I thought it was helpful… http://diybikerepairguide.weebly.com
How To Connect A Bicycle Chain
https://www.youtube.com/watch?v=d_PntKQ8WDE
Comments are closed.