The beauty of a bicycle is that it can be used for much more than its original purpose. A simple and fine-tuned work of engineering, a bicycle has parts that are often still usable after they have served their primary role as a part of your mode of transportation. Your bicycle continues to have a life even after its parts become old and dingy. Unlike the modern car, the design of bikes hasn’t gotten much more complicated since their early days. Their simplicity means that their many components can easily be pulled apart. We’re talking about bike upcycling, using parts of your beloved steed to make something new.

In the design world, as reclaimed materials become more and more popular, it’s no surprise that we’re seeing everyday items made from bike parts. A wheel becomes the base of a table. An old helmet is used as a planter. A bike tube lives a new life as a messenger bag. But you don’t have to be an expert designer to turn your used bike parts into new creations. Many bicycle upcycling projects are simple, and you’re limited only by your imagination.
Bike Tubes
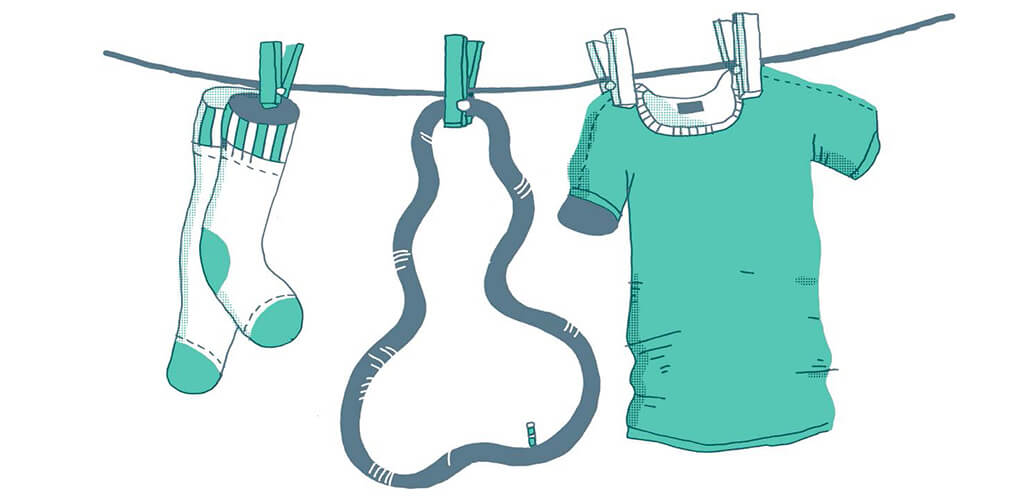
Let’s start with the easiest of bike parts to upcycle: the tire tube. First things first: if you have a punctured tube, do what you can to patch it. Always try to repair first. But when a tube is totally blown or shredded, or you’re just stuck without a patch kit, don’t throw those bike tubes away. If you’re a fan of upcycling, bike tubes are like black gold. If for some magical reason you or your friends aren’t prone to flats, you can also ask your local bike shop for their throwaways. Much better to upcycle them into something new than have them destined for the trash.
As a material, bike tubes are very friendly. Soft and pliable, they are easy to cut, and while from afar they may look like a dark metal, they’re lightweight and flexible. This makes them ideal for making a variety of things, from bracelets to bike bags. You can even cut them into long strips and knit with them. In this way, the options for bike tubes are more or less endless.
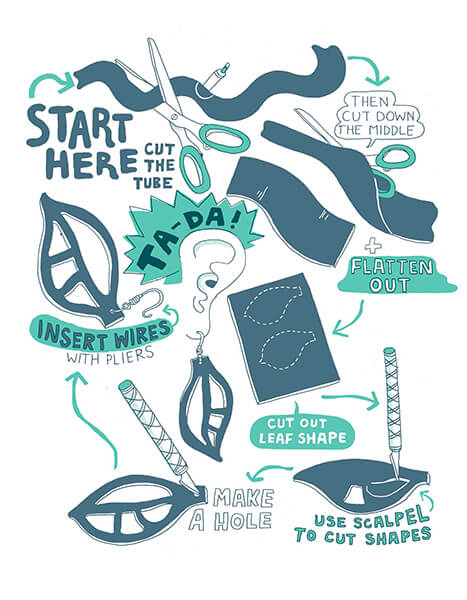
To prep bike tubes for use in any project, cut the tube lengthwise down the middle, so that you end up with one long, wide band. Wash the tube with warm water and soap and hang to dry. Once dry, the band can be rolled up and held together with a rubber band for easy storage. This also helps to keep the tubes flat, which makes measuring and cutting them a little easier.

DIY Bike Tube Earrings
For anyone who likes to wear big earrings, these are lightweight no matter their size, which means your ears won’t get weighed down. Note that because of the nature of the bike tube, they will curve over time.
TOOLS
- Bike tube
- Scissors
- X-ACTO knife
- Hook earring wires
- Pliers
1 –> Using scissors, cut the earring shape out of the tube freehand, or use a paper stencil to help guide you. Think about how long and how wide you want your earrings to be. Note that, because of the bike tube’s inherent tubular shape, you will get a bit of a natural curl, so while flat, wide earrings may look good right when you cut them, they may not stay that flat for long.
2 –> Cut a design with finer cuts and straight lines in the inside of the earrings with an X-ACTO knife.
3 –> Once the design is cut out, use scissors or an X-ACTO knife to make a small hole at the top of the earring. With the pliers, bend the earring wire back so that you can easily insert it into the hole.
4–> Wear your earrings with pride or gift them to all of your bike-loving friends or those who need inspiration to get on two wheels.
 The above excerpt was reprinted with permission from Hello, Bicycle, copyright 2016 by Anna Brones. Published by Ten Speed Press, an imprint of Penguin Random House LLC.
To pick up a copy or learn more, check out Ten Speed Press.
Illustrations copyright 2016 by James Gulliver Hancock.


The article keeps popping up when I’m looking for the article How to Shop by Bicycle.
One trick I have for “upcycling” old inner tubes is cutting them into pieces to make what are known as “ranger bands”, basically heavy-duty rubber bands. They come in exceptionally handy, and tend to last longer than latex rubber bands.
Comments are closed.