Autumn Gear Guide
Find inspiration in our Gear Guide that will keep you out on your bike through wind or rain.
Download Now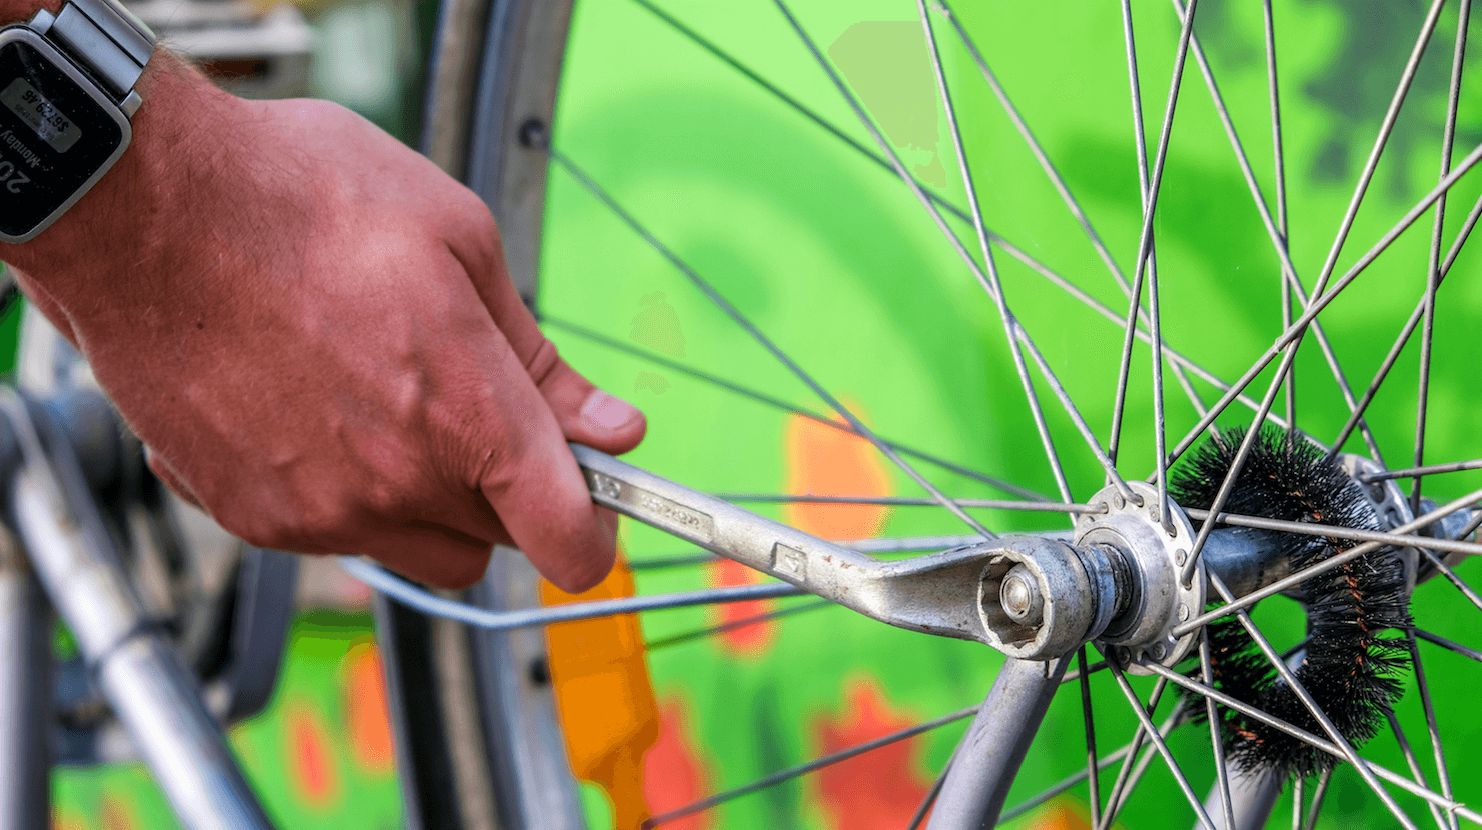
Do you know how to tell if something’s wrong with these five critical components?

If you’re new to cycling, fixing your bike probably seems daunting. Rather than tinkering about yourself and making an even bigger mess, you’d probably just leave the whole thing to the pros, right?
As a bike mechanic, I can’t say I blame you. Bike maintenance can be deceptively complex, and it’s often better – and easier – to let the professional handle it.
But here’s the thing – you still need to be able to tell if something’s wrong with your bike in the first place. Sure, many times, the bike will make it known – like you, it doesn’t like when it’s sick. However, not all bike issues are foreshadowed by an unnaturally loud clanging. Some disturbances in the force are just a tad more subtle.
So with that in mind, here are the five most critical parts of your bike, and how to check if they need therapy.
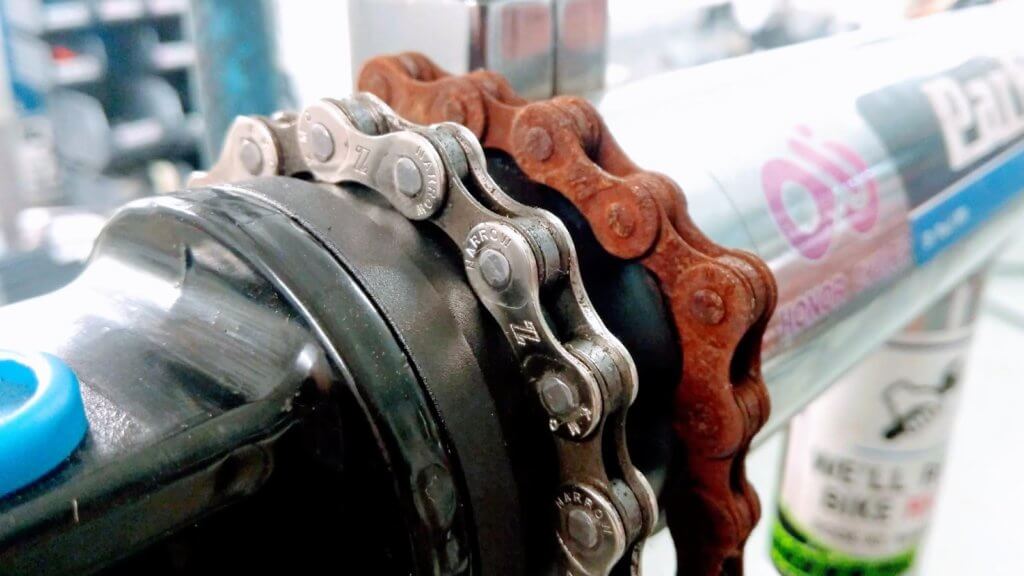
A new chain vs. an old rusty one.
The chain is arguably your bike’s weakest and its most important component, converting your body’s raw power into rear-wheel spin. As a result, thorough chain inspection should be priority #1 for any wannabe diagnostician.
How to check for wear:
When examining your chain, you’re really looking for 3 main ‘oddities’: rust (and dryness), stiff links and/or chain stretch.
A corrosive blend of orange and brown, rust is usually the easiest to spot. You should also use your fingers to feel if the chain is dry – ideally, you want it lightly coated in a thin layer of clean oil.
The best way to deal with rust is to regularly check your bike for dirt and grime – deep, accumulated rust is a complex monster, and typically warrants a trip to the shop.
Stiff links aren’t shy: they’ll make their presence known by forcing your chain to skip every few revolutions. To find the culprits, inspect the chain side-on as you backpedal the cranks with one hand. All the links should be parallel to each other: if you see a few links forming a ‘kink’ you’ll need to loosen the lot, otherwise you’re first-class bound for future shifting issues.
There are 2 ways to loosen a stiff link – using a chain tool, or getting handsy. Lacking tools, hold the stiff link between your hands at about a 90 degree angle, and gently twist the little guy back and forth. Once it’s loosened, compare the link to its immediate neighbors to make sure it’s properly mended.
Saving the ‘best’ for last, diagnosing chain ‘stretch’ by eye is nothing short of a superpower: mere mortals will need a chain wear tool, such as this one. Use it to make sure that your chain is less than 75% stretched, as indicated by the tool.
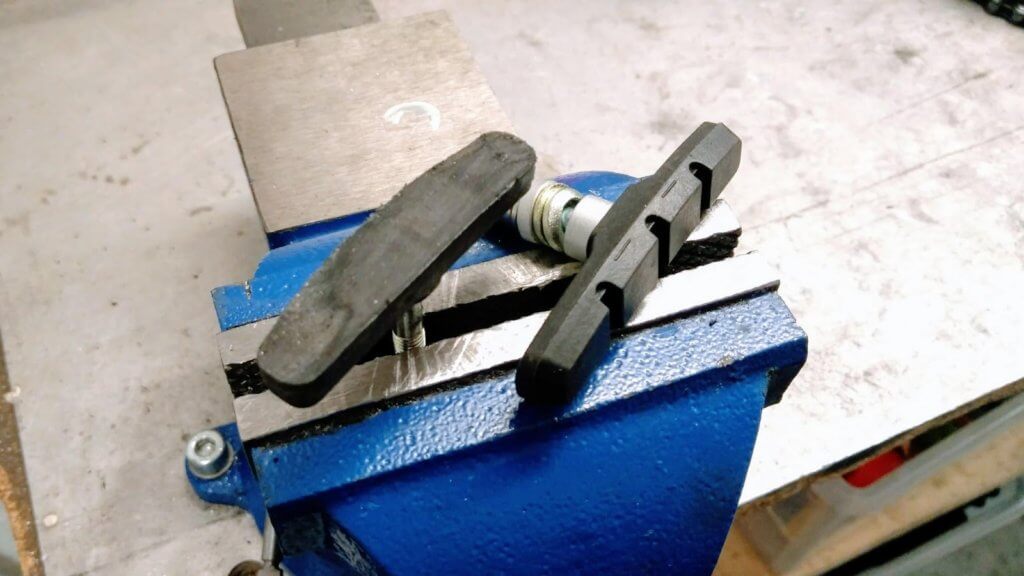
Worn-out brake pad (left) and functioning rim pad (right).
If you can’t stop – as us Londoners would so eloquently put it – you’re a bit buggered.
How to check for wear:
This varies a bit based on your pad type. Rim brakes are more common on road or hybrid bikes, whereas disc brakes are popular on MTBs, hybrids and cyclocross bikes.
If you’re sporting rim brake pads (traditional Caliper or V-brake setups), you want to check if the grooves – or ‘teeth’ – in the rubber are still visible, as seen on the right pad in the picture above. If not, it’s time to get yourself a new pair! Also make sure to look for any bits of grit or metal that may have wedged itself in the pads. These will damage your rim, and make the pads less effective overall.
For disc brakes, there’s rarely an equally obvious wear mark, but a good rule of thumb is that you want at least 0.5mm of material still on there. No matter the pad type, however, it’s important to check that your pads aren’t being worn down at an angle. If they are, your brake calipers will need adjusting.
P.S. To get a closer look at the pads, you might need to take them off. If you’re not comfortable doing that alone, I’m sure there’s a local mechanic that’s more than happy to help (same goes for all the tips listed!).
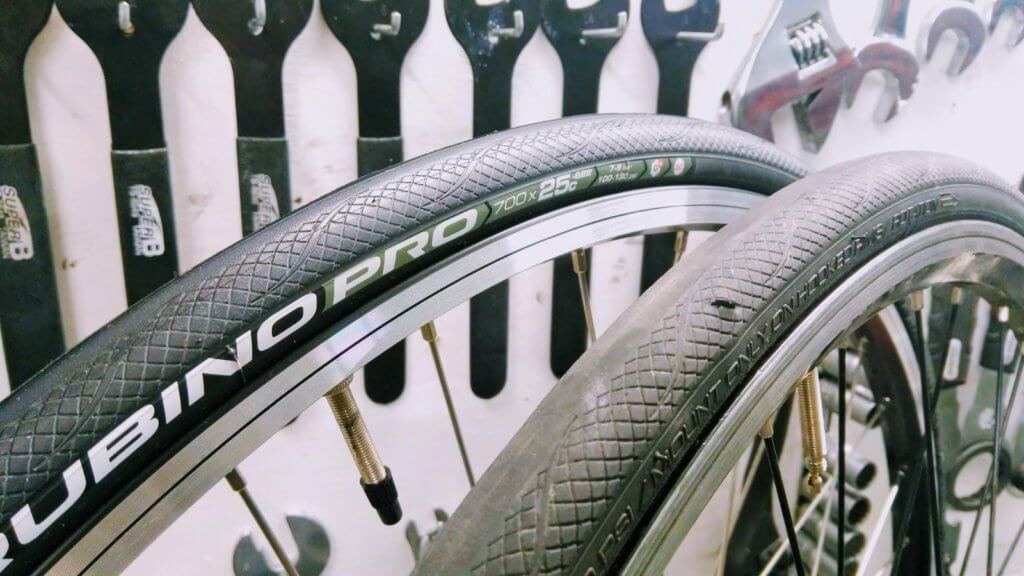
New tire vs old tire with deep cut
Being able to slow down and accelerate ultimately depends on how much grip your tire has with the ground. Bike tires are typically written off in 3 ways:
How to check for wear:
First, audit for ‘bald patches’ on the tire surface, where the tread pattern (if one exists) is almost invisible, or areas where the rubber is so thin that the underlying canvas is showing through. Next, check for small cracks in the rubber forming around the sidewalls: they will be uniformly distributed along the tire, as all rubber perishes at the same time.
Any of these occur, you’re due for a new tire. You can’t really fix tires – only replace them. This can seem wasteful, and it is, so it’s important to properly recycle used tires. The Earth will thank you!
Finally, look for small ‘random’ bulges on the tire that appear near large cuts. Better yet – take the tire off the rim and visually inspect the inside of it. If you can see the cuts, it means that the strength of the canvas has been compromised, and the patient’s a lost cause.
The canvas is what provides the tire with the strength to hold air pressure. Riding a torn or cut canvas is like hammering away at a gas canister – it’s only a matter of time before it blows.

New brake cable vs. old brake cable with rust and frayed ends
Cables control the brakes and gears, otherwise known as everything that makes a bicycle work. They are also alarmingly consequential: damaged cable outers or frayed and rusty inners can cause major issues even if the aforementioned chain, brake pads, and virtually all the other components are brand new.
How to check for wear:
Visually inspect the outer cables (these are the plastic-coated flexible tubes that the cables run in) looking for kinks, cuts, rust, or any other signs of structural damage. The inner cables, on the other hand, are a bit more tricky. Start with a basic eye test – the cables should be silver, so if they’re turning white or brownish, they are likely stiff and rusty and will perform poorly.
A better test, however, would be to detach sections of the outer cables from the frame cable guides, so that you can run them freely up and down the inner cable. The movement should be smooth and almost frictionless.
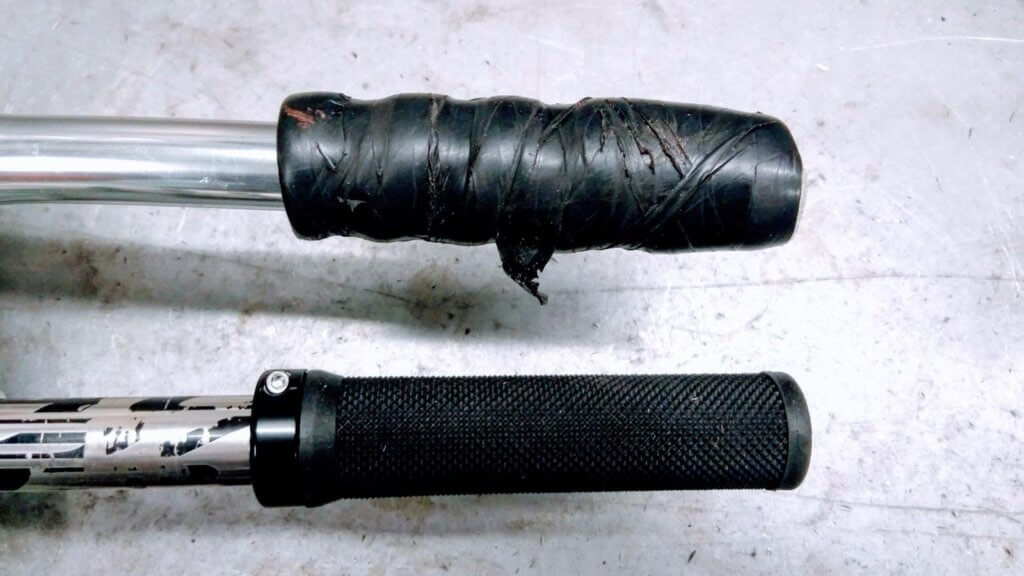
New grip vs old grip
They’re tasked with keeping you on the bike when things get hairy. Sans regular tune-ups, however, pedals and grips can turn against you.
How to check for wear:
When it comes to grips, you want to make sure that the rubber/foam material isn’t sticky, slippery, or slowly decomposing. You also need to check how well the grips are actually attached to the bars, by firmly grabbing the grip and attempting to rotate it.
For pedals, the first order of business is checking if they’re cracked or worn smooth. Test for grip by placing your foot (with shoe) on the pedal, and try sliding it back and forth while pushing down to simulate pedaling. You should feel the pedal ‘biting’ into the shoe, and offering a good grip. When you try to spin the pedal, the feedback should be smooth – if they feel tight or ‘notchy’, it means the bearings have pretty much died. Finally, try tugging on the pedal in several directions, to test if there’s any play.
Simon is a lead bike mechanic at Honor Cycles. A veritable bikepacking nut, he writes about everything bikes in his spare time.

 The Future of Transportation: The Role of Bike Lanes
 Bike Shop: Practical Cycle
 How To Bike With Your Babies
 Reinvigorating Your Commute
 Jeremy Vine close-call is familiar to every bicycle commuter who ‘takes the lane’
 3 Winter Cycling Myths Debunked
 Strider PREbike Balance Bike Review
 Leather and Wood Bags from Nisnas Industries
Find inspiration in our Gear Guide that will keep you out on your bike through wind or rain.
Download Now


Comments are closed.